Connecting your notebook to an Oracle Autonomous Database instance


As part of my data science career, I always find myself connecting to a variety of data sources, vendors, and software versions, which, to be honest, drive me nuts. Generally speaking, connecting to some services are straight forward, but some others require a bit of pre-configuration to get them up and running.
The goal of this post is to give you the tools to connect to Oracle Autonomous Database, and most importantly, get some instances for FREE!
By the end of this post, you will be able to add to your toolbox a set of instructions that will boost your data analysis process.
NOTE: This is not an Oracle post or a service/product offering.
Getting your Always Free Oracle Account
As you probably know, Oracle has been in the Cloud space for a while now, and as they keep growing, they add new services that you may or may not be aware of, but as a fellow developer, you will find very useful.
Regardless if you use another cloud provider, one of their offering that I permanently recommend is the Always Free services.
With this offering, Oracle allows you to use for an unlimited time (yeap, you got it right, unlimited time) a group of their main services, which is awesome! compared to other providers that give you 6 to 12 months of free tier periods.
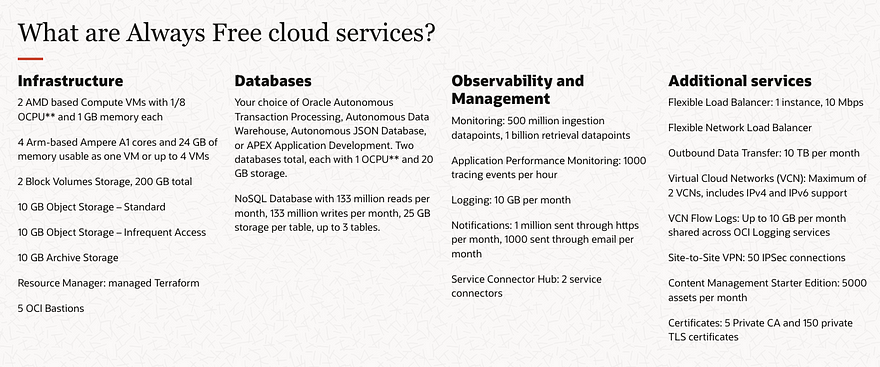
The Always Free offering includes the following services:
- Two Oracle Autonomous Databases with powerful tools like Oracle APEX and Oracle SQL Developer
- Two AMD Compute VMs
- Up to 4 instances of Arm Ampere A1 Compute (This is way too cool! we will get back on this)
- Block, Object, and Archive Storage; Load Balancer and data egress; Monitoring and Notifications
If you want to get your account, just go to Cloud Free Tier page and sign up for free.
Creating our first Autonomous Database
You might be saying “Ok, I get it.. Oracle, Cloud, Database…what is the big deal with this?”. As you know, despite you have 20 years of experience or just a few days in the IT world, managing databases is not easy, is way too complex, to be honest. Maintenance, performance issues, backup, patching, among other tasks that every single DBA has to deal with.
Oracle Autonomous Database Provisions highly available databases, configures and tunes for specific workloads, and scales compute resources when needed, all done automatically.
From the security standpoint of view, protect sensitive and regulated data automatically, patch databases for security vulnerabilities, and prevent unauthorized access. And Finally, detect and protect from system failures and user errors automatically and provide fail-over to standby databases with zero data loss.
After reading this, you can’t tell me this is not extremely cool, right? With this in mind, we will provide our first database and configure it accordingly.
First, you must access the service. Go to cloud.oracle.com and use your credentials to log in. You must fill in the tenant name and credentials provided during the sign-up process.
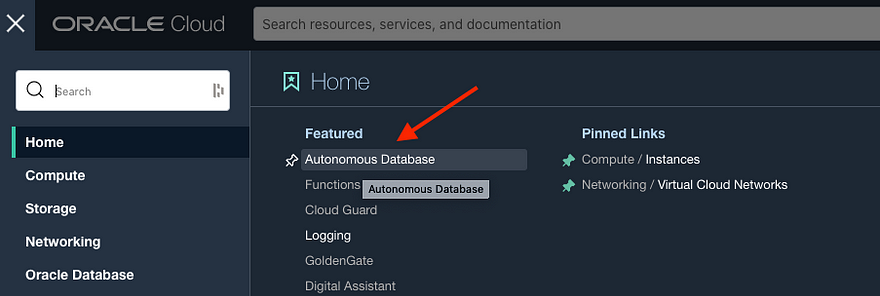
Once in the main dashboard, click the contextual menu.

In the Home menu, within the Featured section select Autonomous Database
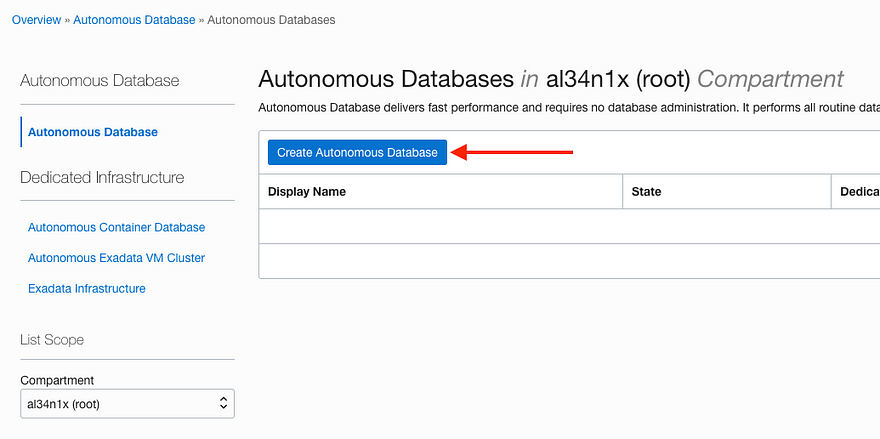
In the Autonomous Database dashboard, click Create Autonomous Database.
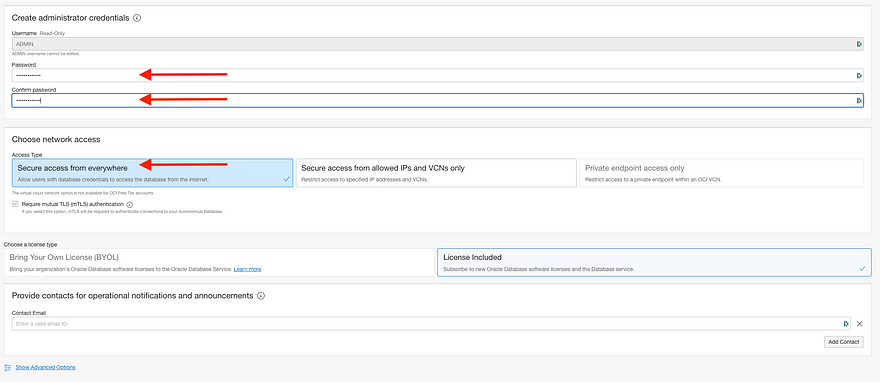
Fill in the required data and check the Transaction Processing option. This type of database that you generally use.
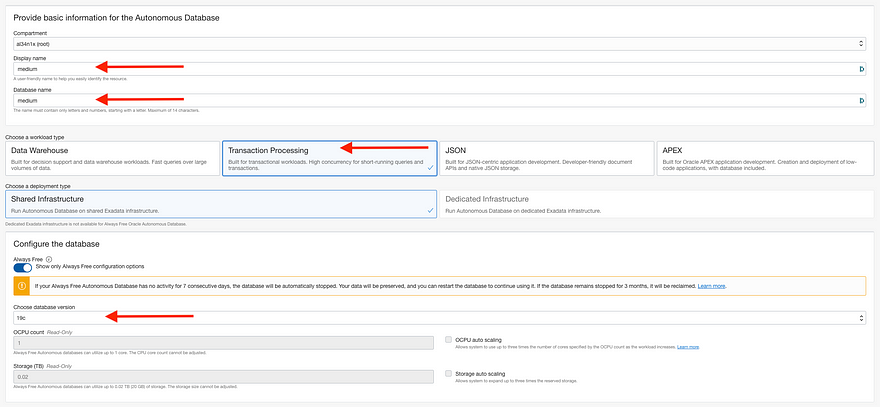
Finally, fill in the admin password (PLEASE, PLEASE!, do not forget this information), ensure that you have the Secure access from everywhere option checked, and click Create.
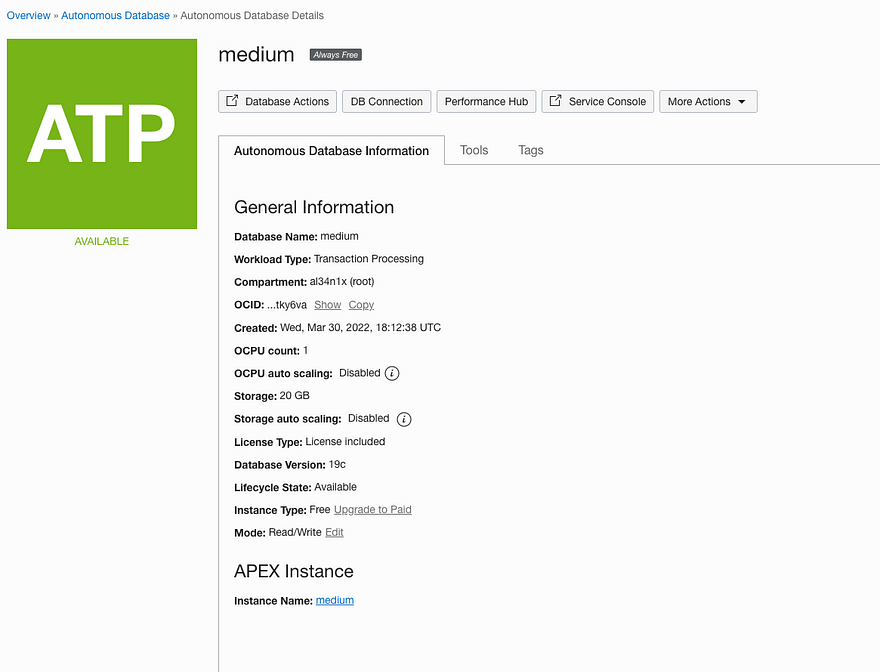
After a few minutes, you will see your database up and running! Congrats! If you reached this point, you have provisioned your first Autonomous Database. Now is the time to populate the DB with data.
Populating the Database
For the purpose of this exercise, we will use the World GDP data from Kaggle uploaded by OZGUR CEM TAS.
The dataset contains the following files:
- GDP
- GDP Growth(Annually)
- GDP per capita
- GDP per capita Growth(Annually)
- GDP PPP
- GDP PPP per capita
You can download the entire dataset, but we will leverage only the first file. Once you have it locally, let's upload it to our recently created database.
Log in to Oracle Cloud, and access your Autonomous Transactional Processing Database (ATP), once there, click the Service Console option. This will take you to the database administration page.
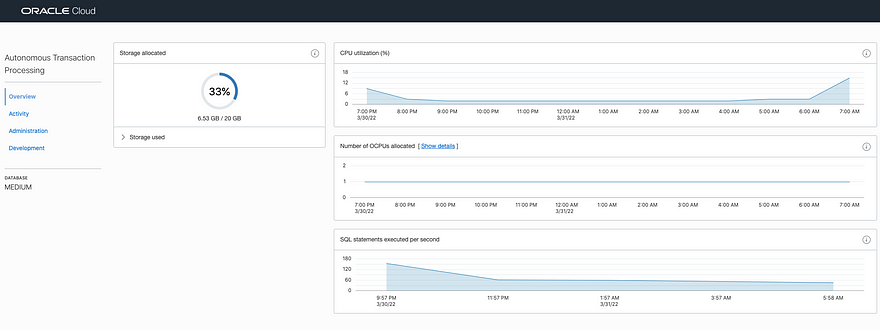
Once in the dashboard, you can check at a glance the current status of your databases, such as CPU Utilization or SQL statements executed per second. On the left-hand side of your screen, you have a menu. Click Development.
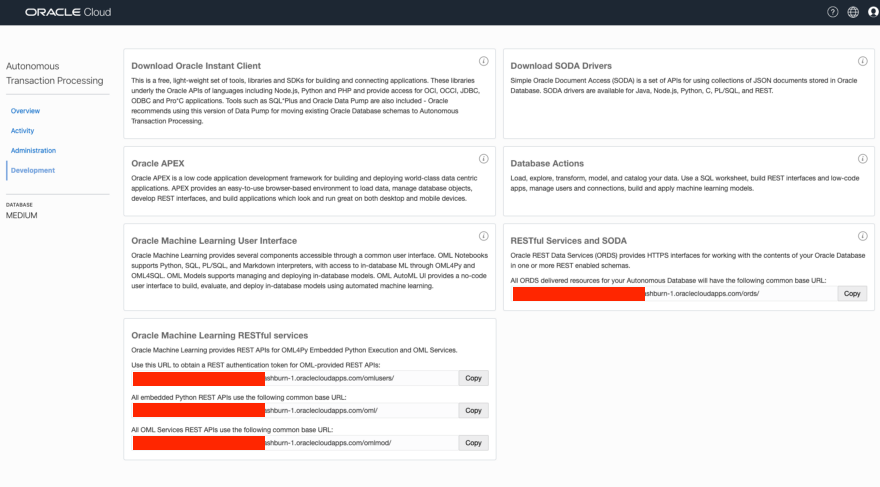
Within the development panel, you can have access to many resources, such as APEX (We will talk about this service in another post), RESTFul interfaces, and Machine Learning User Interface, alongside other components.
For this lab, let's click on Database Actions, which allows us to load and manage database data.
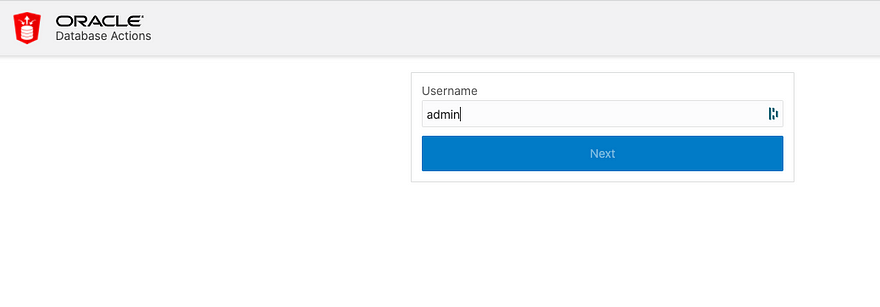
Once there, you have to use the admin credentials generated during the database creation process.
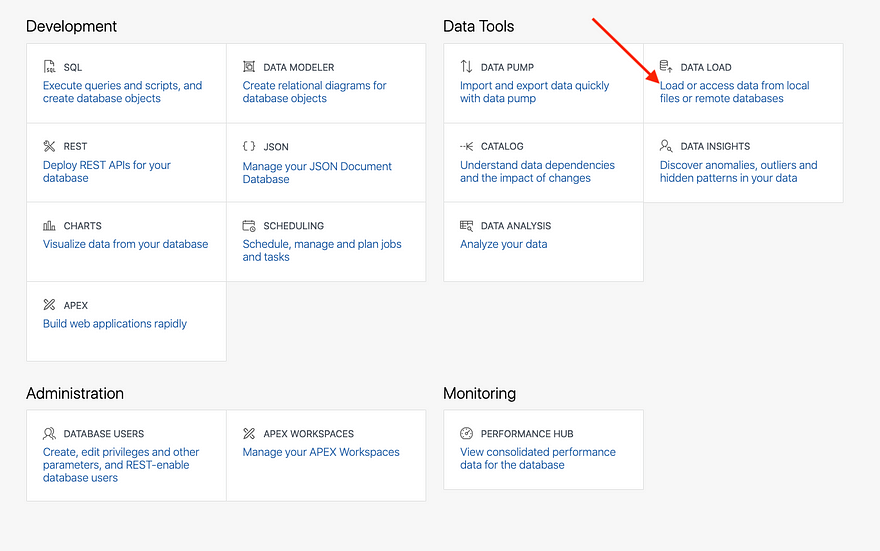
In the main dashboard, select the Data Load option
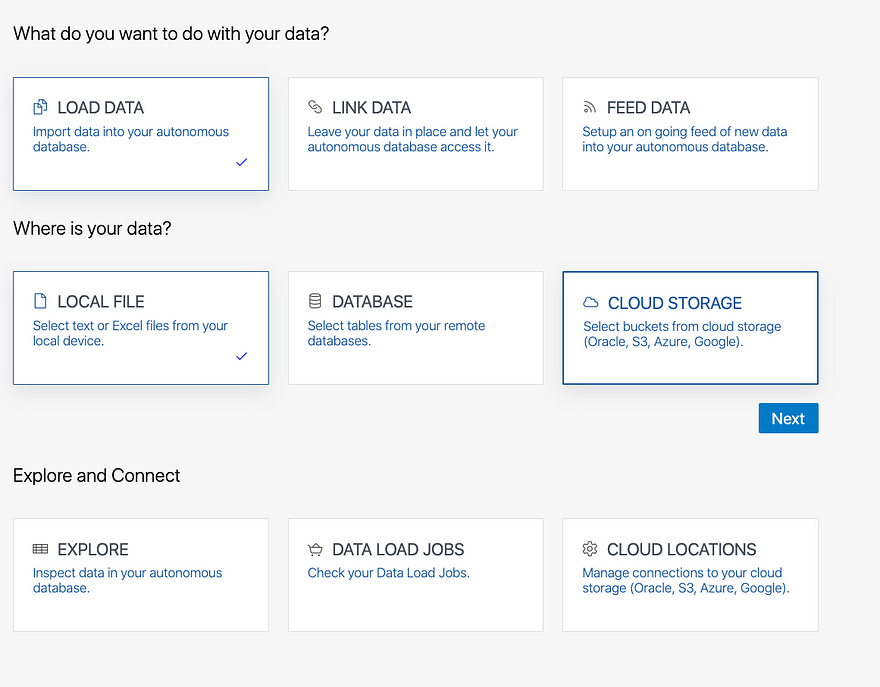
Within the Data Load panel, you can select what do you want to achieve with your data and the location of the data. For this purpose, we will keep Load Data and Local File options selected, click Next.
NOTE: For the purpose of this lab, we will use the ADMIN workspace. For further reference on how to create a new user please review Oracle Documentation
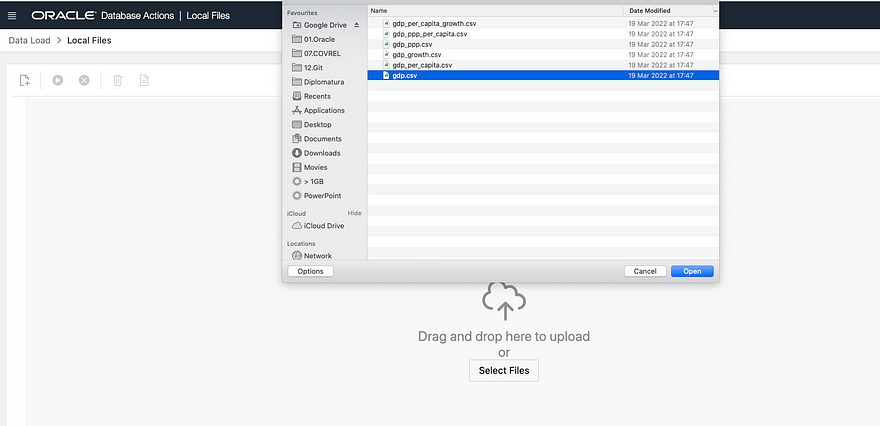
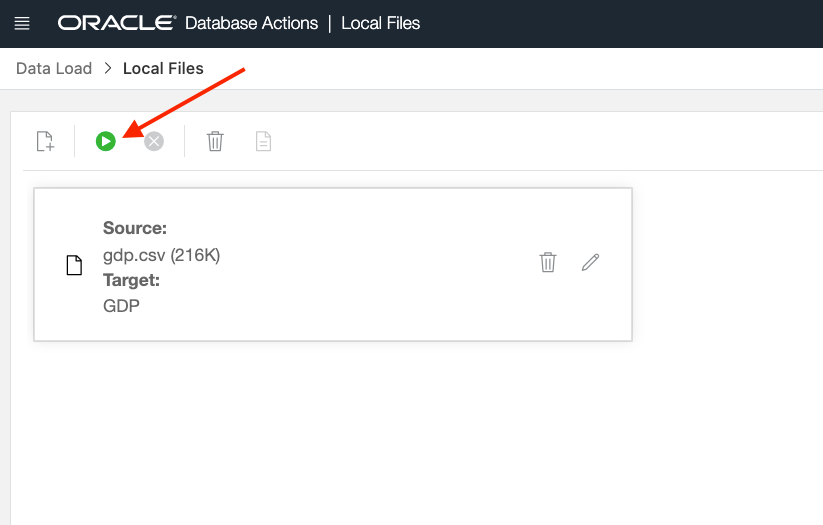
In the file selection screen, click Select Files and upload the gdp.csv file that you have downloaded and unzipped from Kaggle.
Once the file is uploaded, click the play button to complete the process.
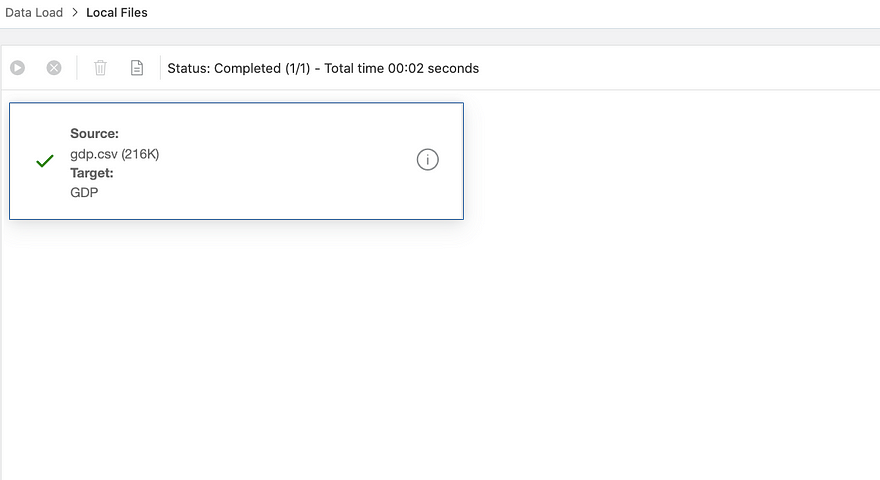
And after a few seconds, you should see a green check that tells you that the data was uploaded.
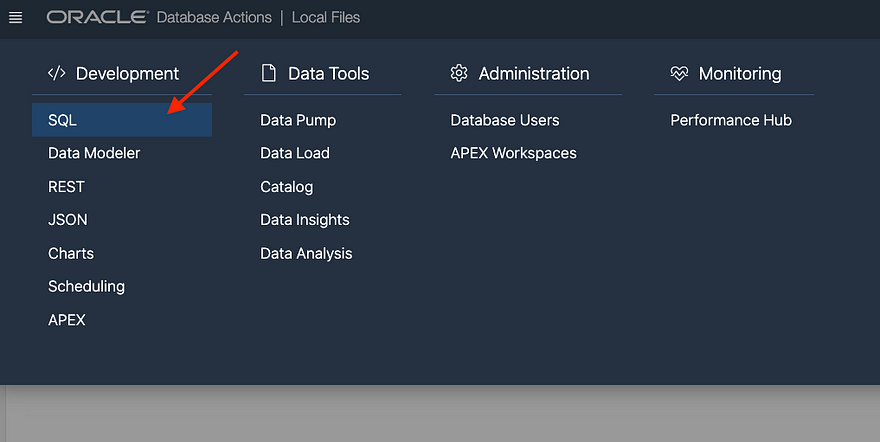
If you want to check the data, click the contextual menu and select SQL
You will see the recently added table and you can run the following SQL sentence to see the data.
SELECT * FROM gdp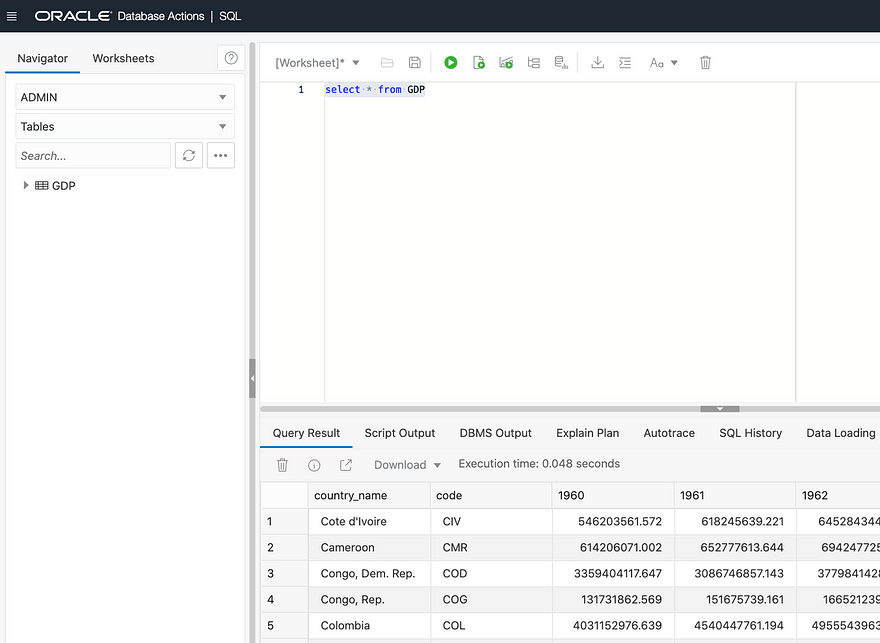
If you have reached this point, you have created your first Oracle Autonomous Database and loaded the data that we will use in the next section.
Doing Magic with Colab and Oracle Autonomous Database
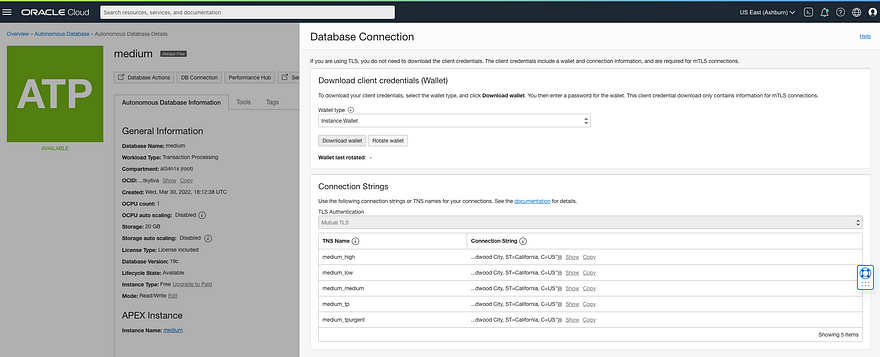
Before we get into Colab, we need first the Database Wallet. The Wallet will allow us to connect to the database from a remote client.
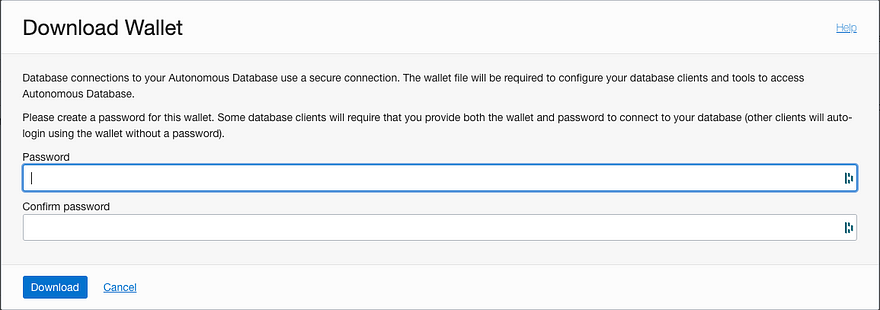
Log in to Oracle Cloud, and within your Autonomous Transactional Processing page click DB Connection, and within the connection modal, click Download Wallet.
You must provide a password for the wallet. I strongly recommend using a new password completely different from the Database admin password.
Once you have the zip file downloaded to your computer, you can now, jump into Colab.
Hello, Colab my old friend!
Before you can run any query against the database, there are a few steps to be completed as part of the setup. Don’t worry, I will give you the entire recipe.
We need to first download some packages and install them. Copy the following sentences to download the required Oracle packages.
! ls -l oracle-instantclient*-basiclite-*.rpm || wget https://yum.oracle.com/repo/OracleLinux/OL7/oracle/instantclient/x86_64/getPackage/oracle-instantclient19.3-basiclite-19.3.0.0.0-1.x86_64.rpm

! ls -l oracle-instantclient*-sqlplus-*.rpm   || wget https://yum.oracle.com/repo/OracleLinux/OL7/oracle/instantclient/x86_64/getPackage/oracle-instantclient19.3-sqlplus-19.3.0.0.0-1.x86_64.rpm
Once we have them, we need a few libraries that will allow us to convert and use those rpm packages. Just for your reference, Colab uses Debian-alike operating system as the backend, and the packages that we have downloaded are Oracle-Fedora-Redhat-alike packages, so we need a few tools that allow us to convert rpm packages over to deb ones.
! sudo apt-get install alien libaio1With the tools installed, let's start converting some packages.
! sudo alien -i oracle-instantclient19.3-basiclite-19.3.0.0.0-1.x86_64.rpm
! sudo alien -i --scripts oracle-instantclient19.3-sqlplus-19.3.0.0.0-1.x86_64.rpm
At this point, you have Alienized and installed the basiclite and the instantclient rpm packages to be Debian compatible. Your notebook is now ready to start interacting with Oracle Autonomous Database.
Let's be ready to DATA-RUMBLE!
Remember the wallet? Not yours. The one that you have downloaded? We will use it now. By the way, I hope you know where is your wallet though.
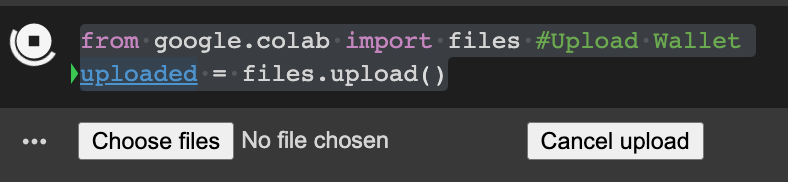
By running this code, you will get a prompt to upload the zip file.
from google.colab import files #Upload Wallet
uploaded = files.upload()
Click Choose files and upload the wallet.
Once uploaded, you must unzip the file.
Now, let’s enter the wallet password.
from getpass import getpass
password = getpass('Enter the user password:')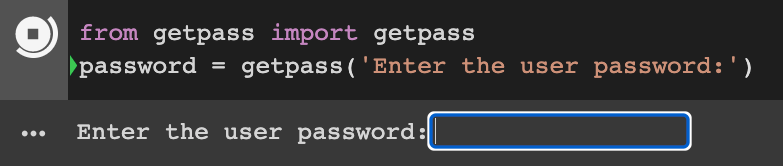
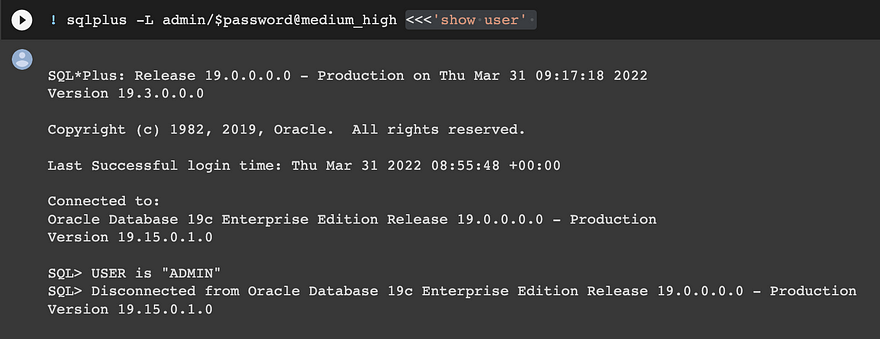
Ok, it’s time to see if we are able to connect to your instance. Keep in mind that you have to change your user (admin for me)and the database instance name after the @, in my case it's medium.
! sqlplus -L admin/$password@medium_high <<<'show user'If you get it right, you should see the following output. If you did, CONGRATS! You made it! you are connected to your data source. But, before we wrap up, let’s run some additional tests.
Let’s install the cx_oracle client. cx_oracle is a Python extension module that enables access to Oracle Database. cx_Oracle 8.3 has been tested with Python versions 3.6 through 3.10.
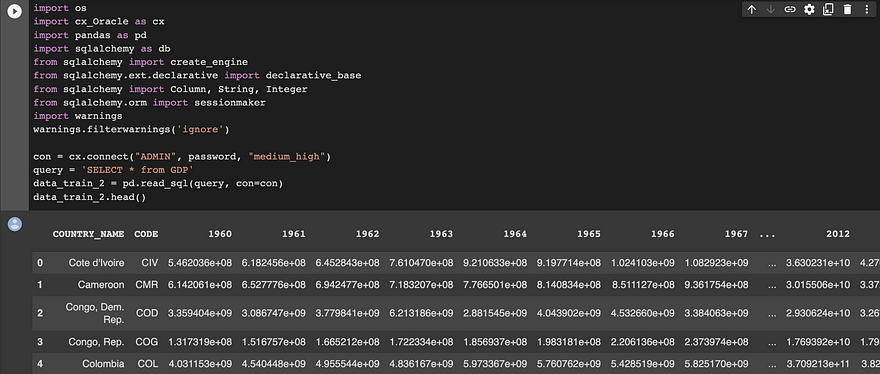
pip install cx_OracleNow, let’s test it out. For the purpose of this example, I’m importing some additional libraries such as sqlalchemy, and Pandas besides cx_Oracle. You will use sqlalchemy very often if you interface with SQL data sources. According to their authors sqlalchemy provides a full suite of well-known enterprise-level persistence patterns, designed for efficient and high-performing database access, adapted into a simple and Pythonic domain language.
With the libraries imported, we need to establish a connection. We will use the con variable, fill your user, password, and database data.
In this case, we want to select all from the GDP table, and finally, load the data into a Pandas dataframe using the pd.read_sql method that allows us to import data directly from a SQL source.
import os
import cx_Oracle as cx
import pandas as pd
import sqlalchemy as db
from sqlalchemy import create_engine
from sqlalchemy.ext.declarative import declarative_base
from sqlalchemy import Column, String, Integer
from sqlalchemy.orm import sessionmaker
import warnings
warnings.filterwarnings('ignore')

con = cx.connect("ADMIN", password, "medium_high")
query = 'SELECT * from GDP'
data_train_2 = pd.read_sql(query, con=con) #Load data into DF
data_train_2.head()
With your finger crossed 🤞, if we execute the above code, we should see the following outcome.
Now, you are able to run SQL queries and load the results into Pandas dataframe to use it as you wish. You can even, push data over the database to store your results or alter data according to your findings.
Summary
As we always say, being a data scientist is not easy, and part of our job is dealing with different data sources and data formats which increase the complexity of our tasks. However, today you have been able to not only get a sneak peek at one of the most widely used databases, but you get one for FREE!
Finally, using some of the tools available out there, you were able to connect your Colab notebook to your Oracle Autonomous Database instance to run queries and loaded into a Pandas dataframe for further analysis.
If you want to learn more about Oracle Autonomous Database, you can refer to the service documentation.
Hope you have found this post informative. Feel free to share it, we want to reach as many people as we can because knowledge must be shared, right?
If you reach this point, Thank you!
<AL34N!X>